Polyurea Kerb Waterproofing Staffordshire

THE PROBLEM

The kerb detail at the perimeter of the major retailers loading bay was allowing water ingress to the parking area below. This was causing breakdown of the intumescent protective coating below and required sealing before remedial works to the protective coatings could take place.

The main points of water ingress appeared to be failed expansion joints, unfilled lifting points and where the barriers had been fixed through the kerb.

THE SOLUTION

Glass fused to steel is an extremely difficult surface to adhere to, therefore we proposed a coating system that will even adhere to glass – Rustoleum Noxyde.

Initially areas where the epoxy adhesive we had used to bond steel plates internally had protruded were sanded flush. This was followed by the high pressure washing of the tank to remove contaminants.

Polyurea Waterproofing 06
Polyurea Waterproofing 07

The moisture content of the concrete was checked and recorded, along with the climatic conditions in order to ensure compliance with the manufacturers recommendations prior to the priming of all concrete surfaces using a damp tolerant epoxy primer. A second coat of the same primer was applied and a quartz aggregate dressed into the wet resin.

As standard we always double prime when coating concrete with polyurea as the hot application and exothermic reaction will cause any trapped air in the concrete to expand and create pin holes if not properly sealed. By double priming this reduces the risk of this phenomenon to a minimum.

The quartz aggregate was employed due to the external location, which could mean that the primer would exceed its recoat window or be exposed to moisture leading to amine blush / blooming. This is a milky film which forms on epoxy coatings when exposed to moisture before full cure. By blinding with a quartz aggregate we created a coarse sand paper like texture that provides such an excellent mechanical anchor that it overcomes the two aforementioned risks to ensure excellent adhesion of the polyurea membrane.

Once cured this was followed by extensive detailing around all of the barrier contact points and expansion joints using a polyurethane jointing compound in order to provide a suitable surface for polyurea application.

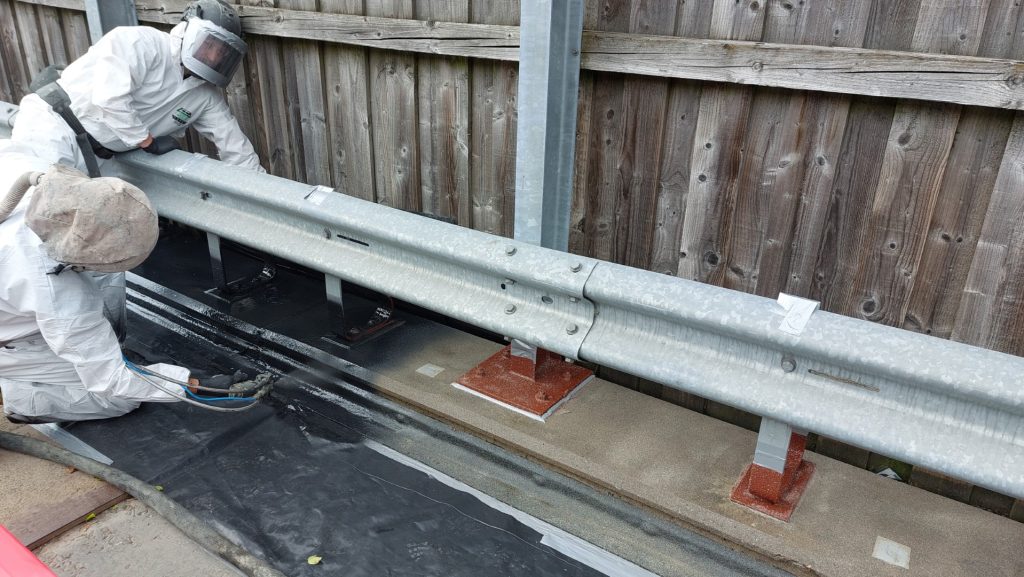
All steel components were primed using our specifically developed Corrolast DSP primer. This is designed for difficult surfaces to adhere to such as glass, galvanised steel and stainless steel – without the need for abrasive blasting to ensure optimum adhesion of the polyurea membrane.

A termination chase was cut into the floor to ‘tuck’ the polyurea membrane into as per best polyurea waterproofing practice.

Extensive masking was undertaken in order to provide crisp termination points for the polyurea waterproofing membrane to ensure an aesthetically pleasing finish.

SPI Corrolastic HT was then spray applied to a thickness of 2mm, with additional material applied over potential movement points such as the expansion joints. The rapid gel time of polyurea (8 Seconds approx) gives you the flexibility to apply additional thickness where required in a single application.

Polyurea Waterproofing 13

As part of our standard polyurea waterproofing quality assurance this was checked for porosity using a DC holiday spark tester, as a single pin hole is a potential point of water ingress.

Finally all masking was removed and the previous cut termination point sealed using a polyurethane jointing compound. This serves to protect the terminated edge of the polyurea membrane and prevent water from penetrating and lifting this area.

This was a very fiddly and detailed job, but executed well by our skilful applicators.