THE PROBLEM
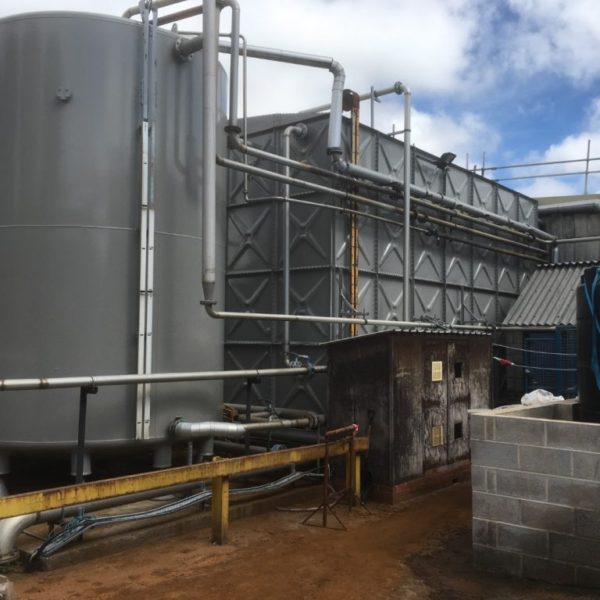
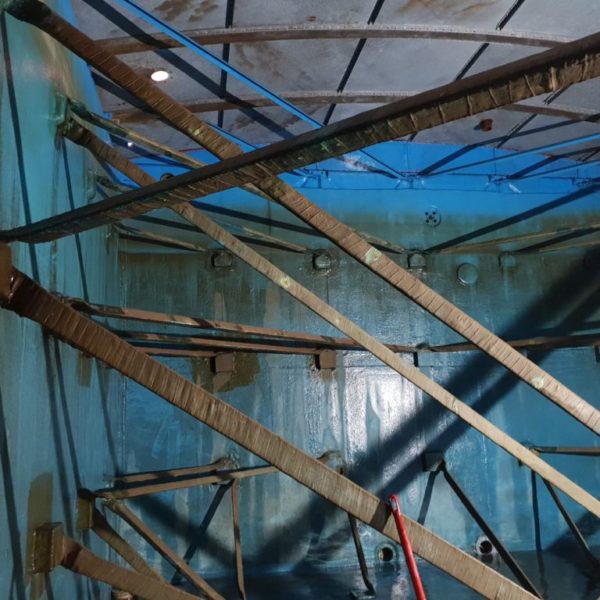
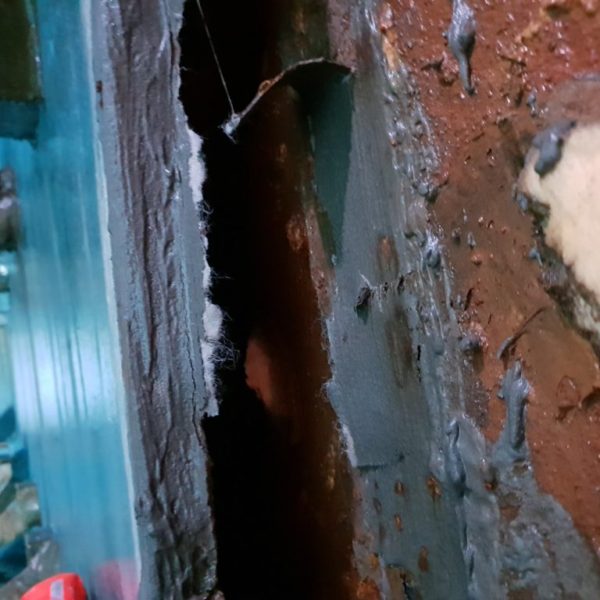
The existing GRP lining had significantly failed, allowing the chloride rich softened water to sit beneath the GRP lining, corroding the sectional tank beneath. This had led to the perforation of the tank and the replacement of several panels.
SOLUTION, REMOVE EXISTING GRP LINING, APPLY NEW LINING
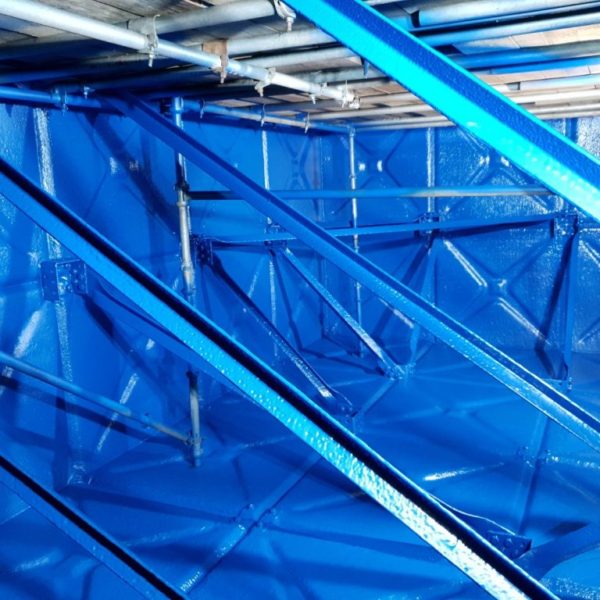
We proposed the removal of the existing GRP lining prior to the application of a seamless and flexible polyurethane tank lining from Spencer Coatings.
As demonstrated excellently by this failed GRP lining the problem they present is that when failure occurs it is impossible to see the point of failure, meaning that localized repairs cannot be made. In addition to this, water can stagnate below the GRP lining, presenting a significant water hygiene risk. Many GRP lining contractors also incorrectly believe that due to the high strength of GRP Linings that correct surface preparation is not required.
Mechanically removing the existing GRP lining
To correct the problems caused by this horribly installed GRP lining we first mechanically removed the existing lining. The GRP lining had been applied over insulation boards to remove the profile of the tank panels. A bandage material had also been wrapped around the reinforcements, creating cavities in which water was stagnating and again corroding the steel.
Following the removal of the GRP lining, the tank internals were pressure washed using potable water to remove chloride contamination prior to preparation for the new tank lining by method of abrasive blasting.
Soluble salt contamination is an important consideration when undertaking a tank reline, as failure to remove them prior to abrasive blasting can mean that they could be forced further into the profile of the steel by abrasive blasting.
Preparing the internals of the tank
The internals of the tank were prepared to SA2.5 as per ISO8501-1, with a minimum surface profile of 75 microns achieved. To ensure the correct surface profile as required for the tank reline this was checked using a surface profile needle gauge and recorded for handover in the project completion file.
Following the cleaning of the tank internals in preparation for the new tank lining some further quality assurance was conducted. A surface cleanliness and soluble salt test were both conducted at various locations throughout the tank.
Failure to remove soluble salts can lead to osmotic blistering in your new polyurethane or GRP Lining.
Sealing joints with polyureathane mastic
All panel joints were sealed using a polyurethane mastic. This is a benefit of using a flexible tank lining rather than brittle GRP linings which should not be applied over flexible mastics due to the different movement potentials of the two materials.
Stripe coats were applied to all angles, edges and the extensive bracings in the tank to ensure full film build of the new tank lining in these locations where tank lining paints pull thin through gravity and surface tension.
Applying the main tank lining
The main tank lining was then applied to a thickness of 1000 microns using our plural spraying equipment from WIWA. Because Spencer Coatings Acothane has an extremely short gel time, multiple coats can be applied within the same shift to achieve the desired tank lining thickness.
To ensure a pin hole and defect free tank lining it was tested using DC Holiday Spark testers and where found marked with chalk prior to touching in using Acothane Brush and roller grade.
The works were completed in 9 consecutive days, including 24 hour working and blasting works.


