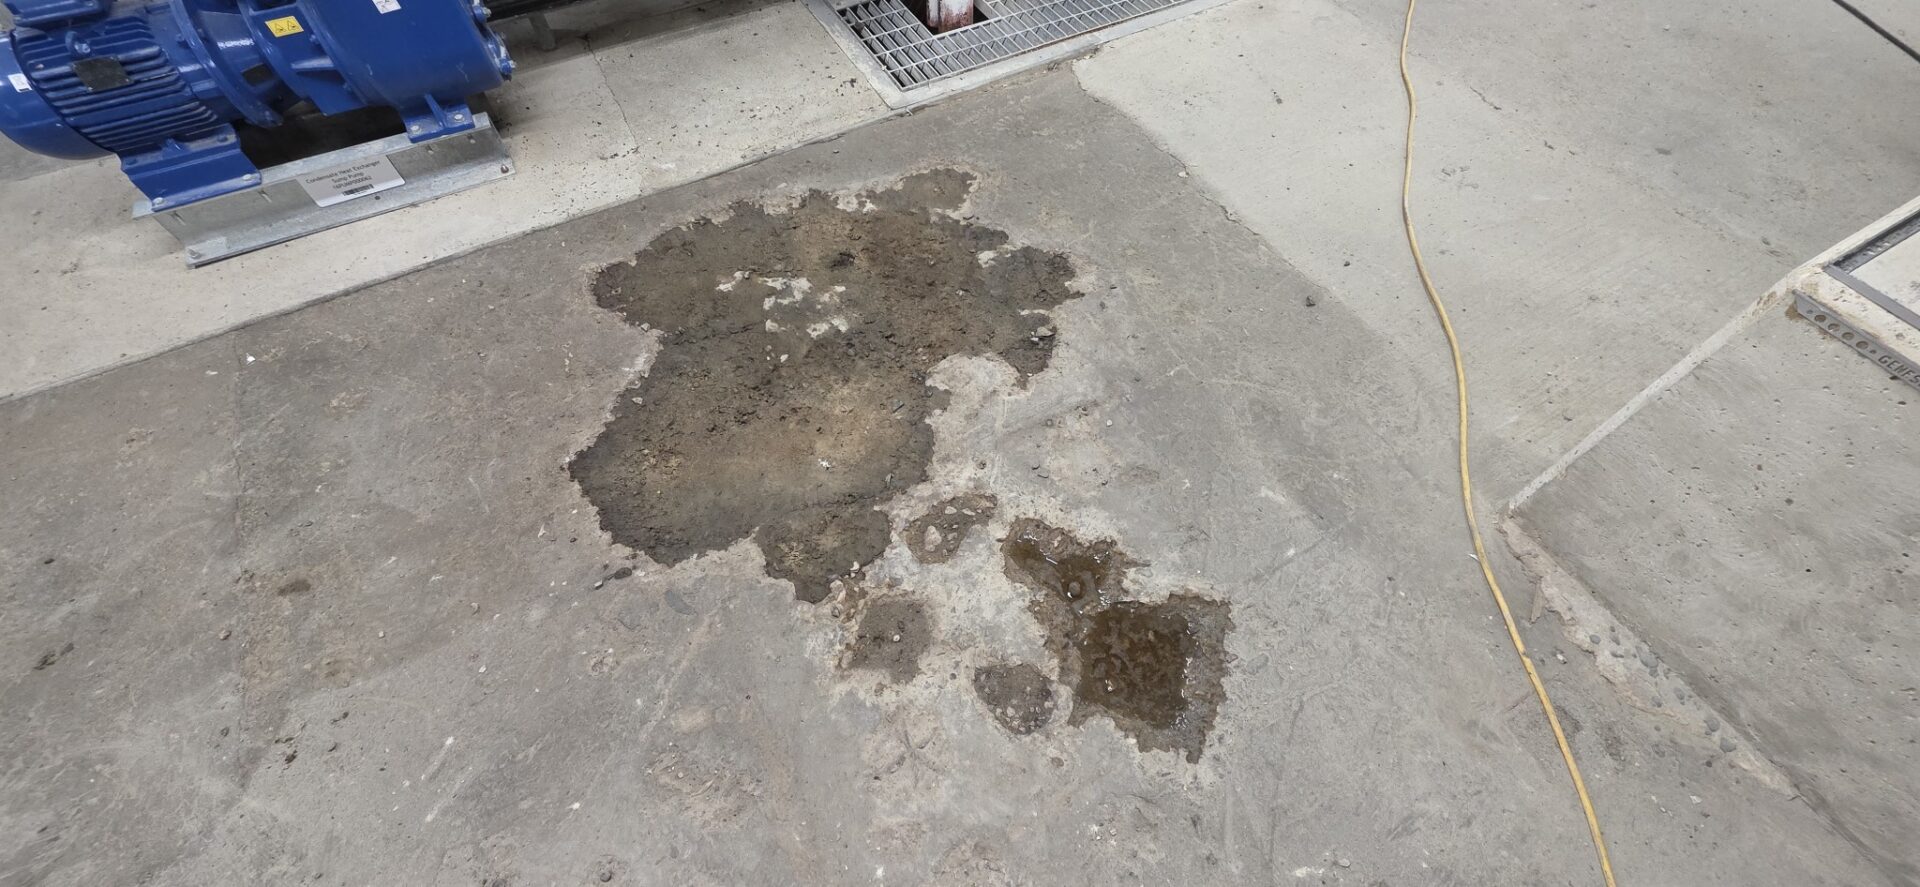
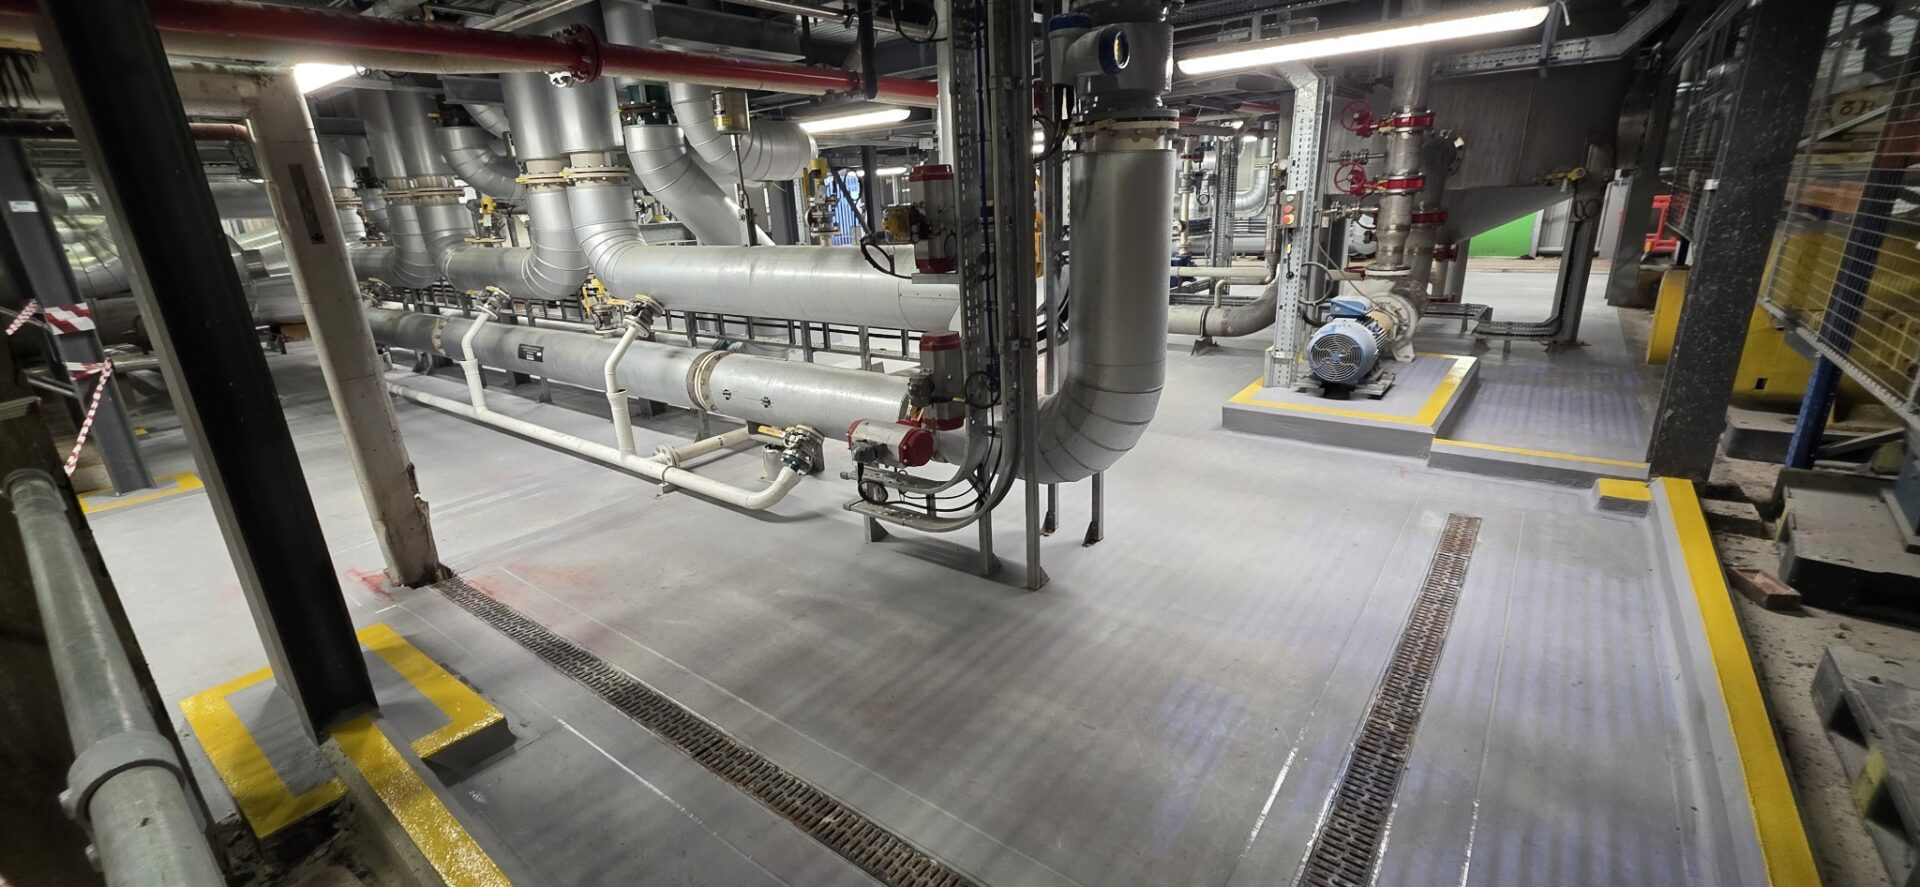
Our client was installing new decarbonation evaporator plant at their factory in Suffolk. The ground floor beneath the heat exchangers, an area of around 290m², had suffered years of exposure to sugars, water and process liquids, and the concrete slab had eroded and cracked.
Heat Exchanger Floor Polyurethane Screed, Suffolk
THE PROBLEM


The area needed a long lasting, very heavy duty polyurethane screed that would remain impermeable to sugars and water, stay slip resistant and stand up to the thermal impact experienced within the plant. The floor also included a series of concrete plinths supporting the heat exchanger frames, along with drain channels and upstands that all had to be detailed into the new finish.
Two further factors shaped the works. Steel sections cast within the sub-floor could not reasonably be removed, creating a risk of reflective cracking along their lines through any new floor. And the works had to be carried out within a live factory, alongside the plant installation, within a two week programme.
THE SOLUTION
We proposed the same 9mm polyurethane screed system that is employed throughout our client’s sites, using a Sherwin-Williams polyurethane screed. The benefit of a polyurethane screed is that it is resin rich through its full thickness, so even if the surface is chipped it remains impermeable to sugars and water, and it will withstand the thermal impact experienced within many process areas. The works were carried out under our framework agreement with the client, which comes with a 10 year warranty. Find out more information about our resin flooring services.
The slab and plinths were prepared by method of vacuum controlled scabbling and diamond grinding to remove laitance, contamination and eroded concrete and provide a sound, mechanically keyed surface. All dust and arisings were captured with three stage CFM vacuum units, keeping the surrounding plant clean.

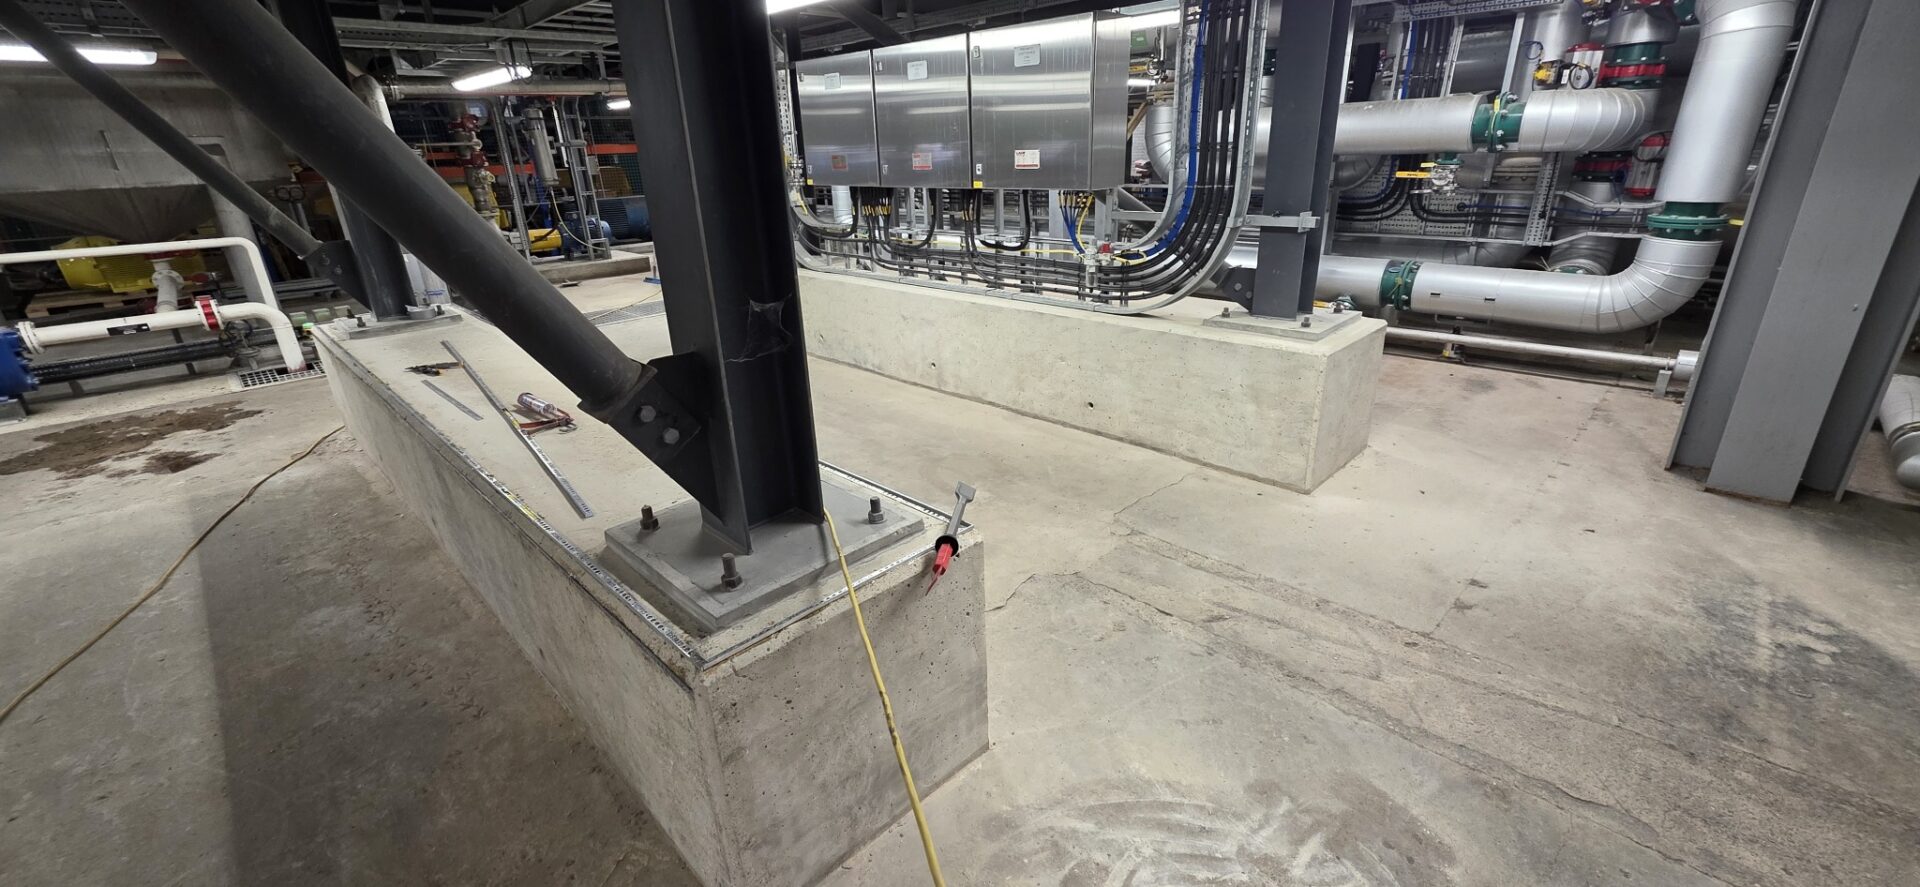
Stainless steel edge trims were fitted to the plinths to give a crisp, durable termination to the new render.
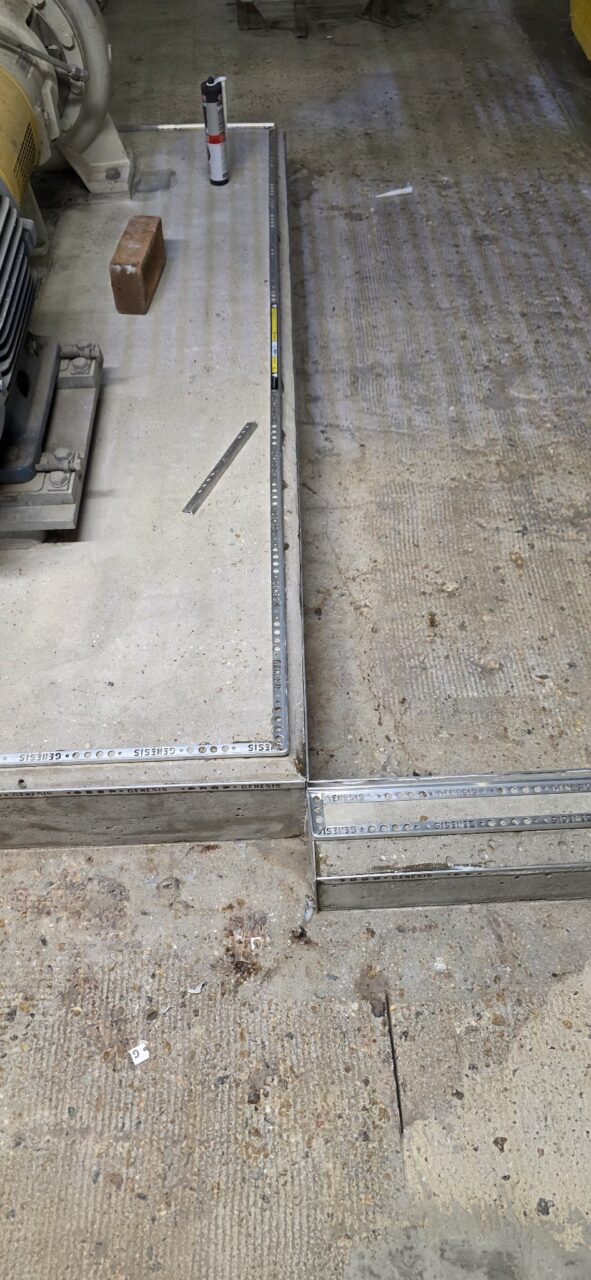
Defective concrete around the drains, along the edges and at cracked areas of the slab was cut out with vacuum controlled saws, broken out to sound concrete and reinstated with repair mortar. Midway through preparation the area flooded; the water was cleared with wet vacuums and the slab allowed to recover before the repairs and priming continued.


With the steels within the sub-floor remaining in place, the lines of the steels were primed with a moisture tolerant primer and cut GRP matting was laid into the wet resin. A further coat of moisture tolerant primer was then applied over the reinforcement to saturation. Bridging the steel lines in this way best mitigates the risk of reflective cracking through the new polyurethane screed.

Anchor rebates were cut across the floor and around the perimeter, drains and upstand details with vacuum controlled floor saws, locking the edges of the screed into the slab. The floor was cleaned with three stage CFM vacuum units, and the moisture content of the slab and the climatic conditions were checked with a Tramex moisture meter and a PosiTector DPM before the floor was primed with a moisture and oil tolerant epoxy primer by brush and roller.

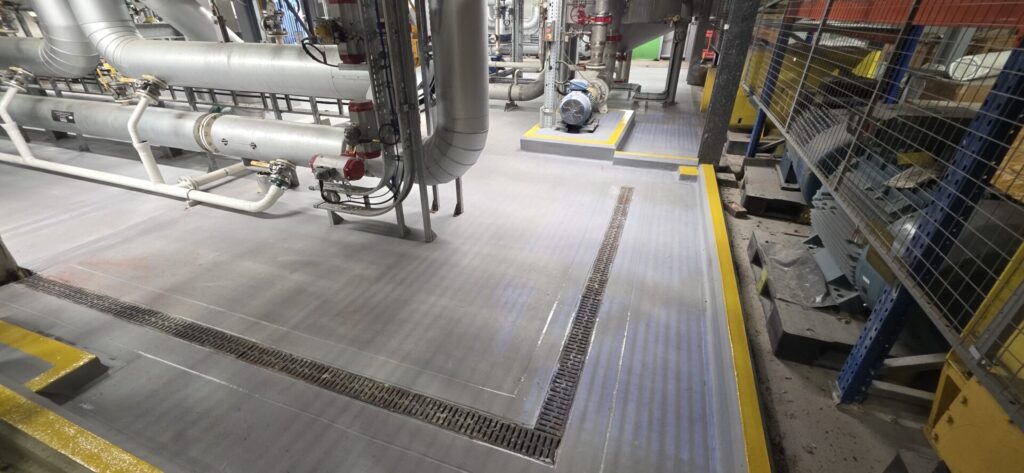
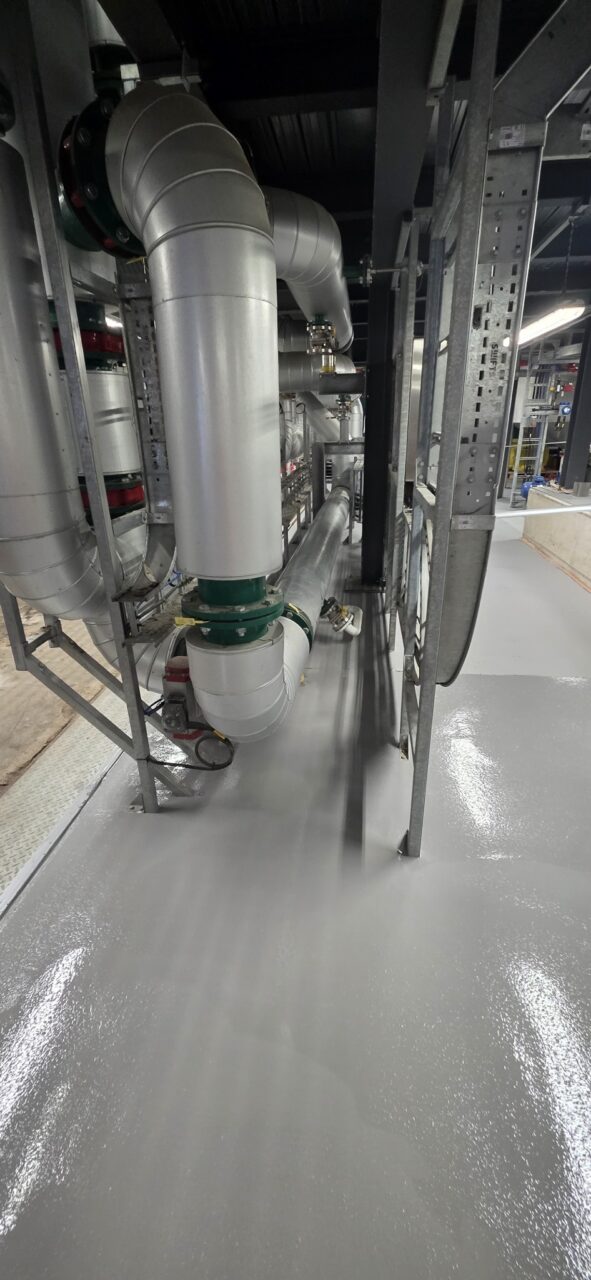
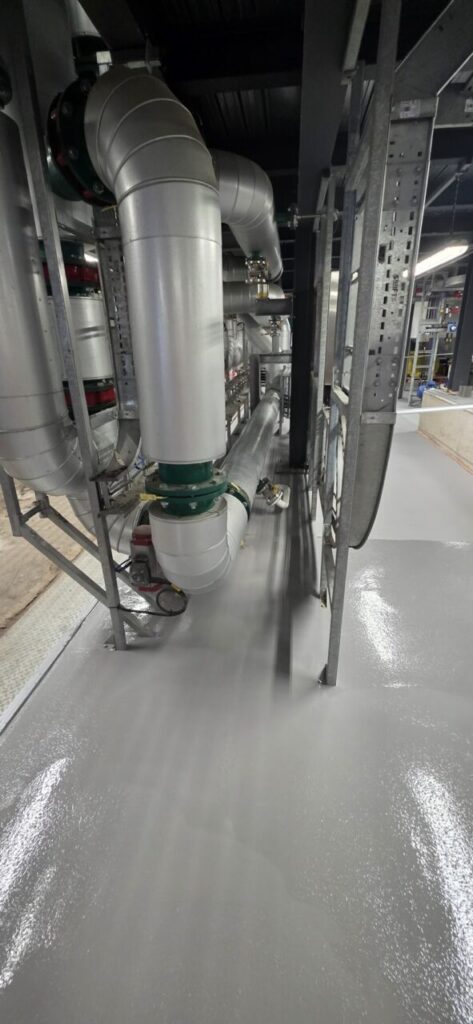
The Sherwin-Williams very heavy duty polyurethane screed was laid by trowel to a nominal 9mm, following the existing falls in the sub-floor to the drain channels. The floor was installed in sections over three consecutive days, using timber battens to form clean day joints and allowing the area around the live plant to be managed. The tops of the plinths were finished in the same material.


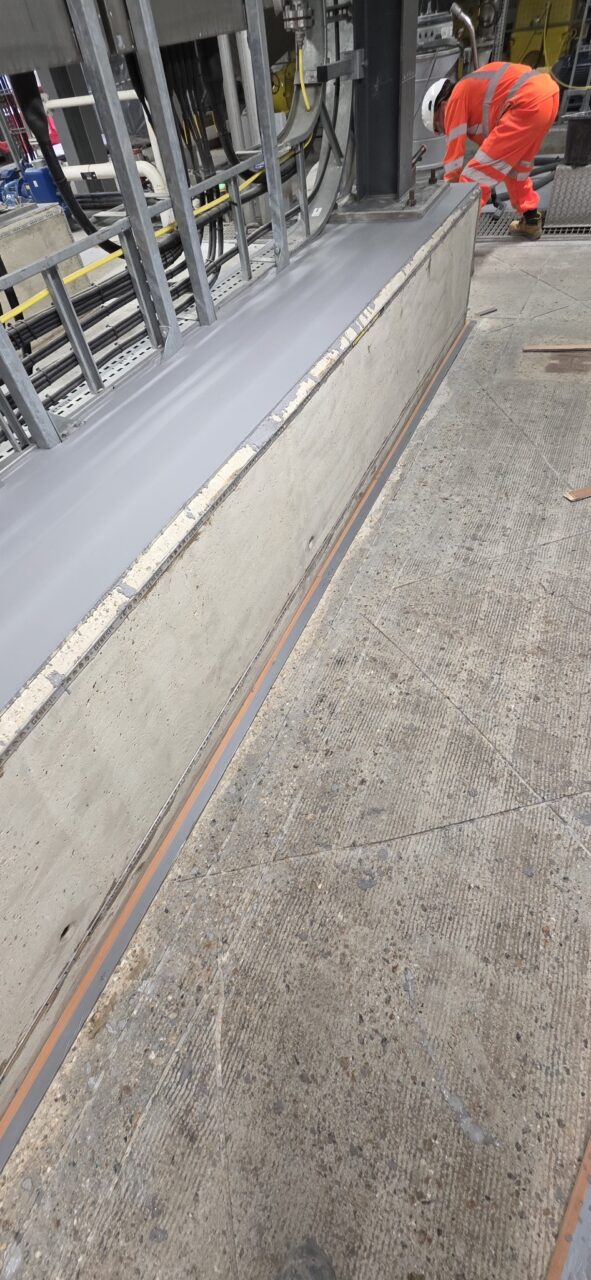
All plinths and vertical surfaces were rendered with polyurethane render mortar by trowel, and a radius coving detail was formed at every vertical to horizontal intersection with polyurethane coving mortar. This removes the internal corners where product and water would otherwise collect, making the floor easier to clean. All rendered and coved surfaces were then sealed with a polyurethane seal coat applied by brush and roller.
Once the polyurethane screed had cured, the existing floor joints were reflected through the new floor with a vacuum controlled floor saw and reinstated with polyurethane jointing compound. The edges of the drain channels and the lines of the sub-floor steels were also chased and sealed. Finally, yellow demarcation was applied to plinth edges and trip hazards, and to twelve heater plinths on the floor above.
The works were completed in ten working days on site, within the two week programme, despite the area flooding on the fourth day. Daily site diaries recorded no safety concerns throughout the works, and the area was left clean and tidy at the end of every shift.
Our client now has a seamless, 9mm very heavy duty polyurethane screed beneath their new heat exchanger plant, fully detailed with rendered plinths, radius coving, sealed joints and yellow safety demarcation, and backed by a 10 year warranty.